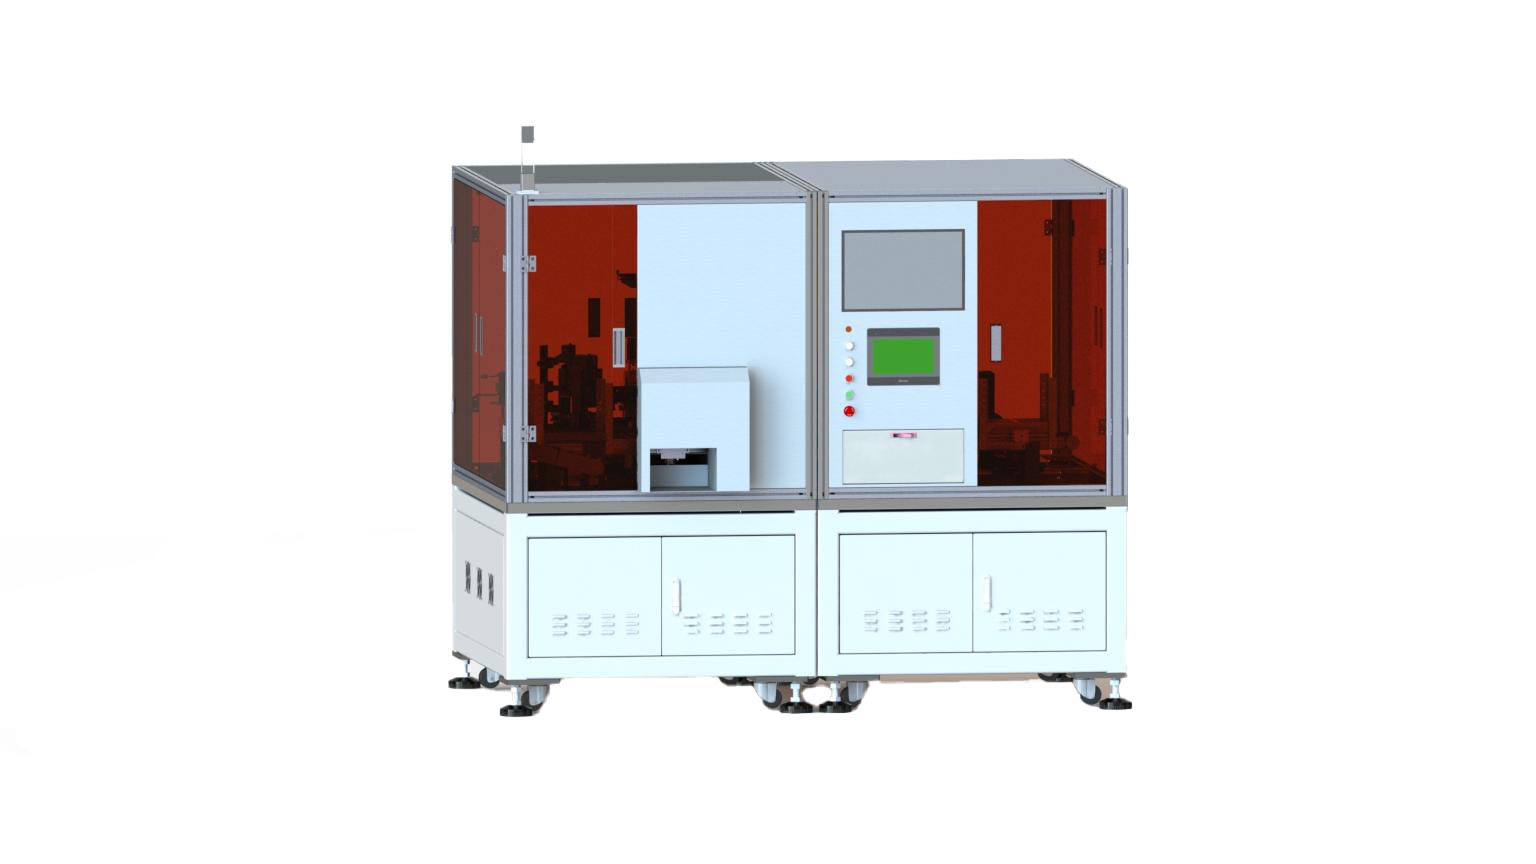
Adoption of opto-mechanical integration solutions, machine vision instead of the human eye, and the use of deep learning for precision measurement of product size, continuous defective early warning, automatic loading and unloading, OK / NG automatic sorting, production data statistical analysis and feedback.
Escape
%
0
Overkill
%
<4
Measurement precision
mm
0.01
CT
s/pcs
1.7
Items
Defect detection, size measurement, inner circle diameter, positioning hole thread detection. Continuous bad warning, automatic loading and unloading, OK/NG automatic sorting, production data statistical analysis and feedback.
Advantages
The equipment has a reversing device, taking into account the inspection of the front and back of the material; square and round fixtures staggered to achieve the point laser and line laser distance measurement. Module standardisation design, through the replacement of the product carrier and equipment parameters can be adjusted to detect other products of the same type.
Effects
Visual inspection replaces the use of gauges for precision measurement, saving 6 people/day compared to the same period of time. Multiple groups of products are handled and inspected at the same time, and various defects are categorised and placed, which is convenient for manual re-inspection.